
Introduction
These are basic pens that can be customised and modified to suit you own drawing style and needs. Use them with some of your own inks and handmade paper.
Materials
- Wooden Sticks (I usually use willow as it is flexible and grows in straight branches)
Equipment
- Sharp Knife
Method
- Choose one of your sticks that feels comfortable to hold.
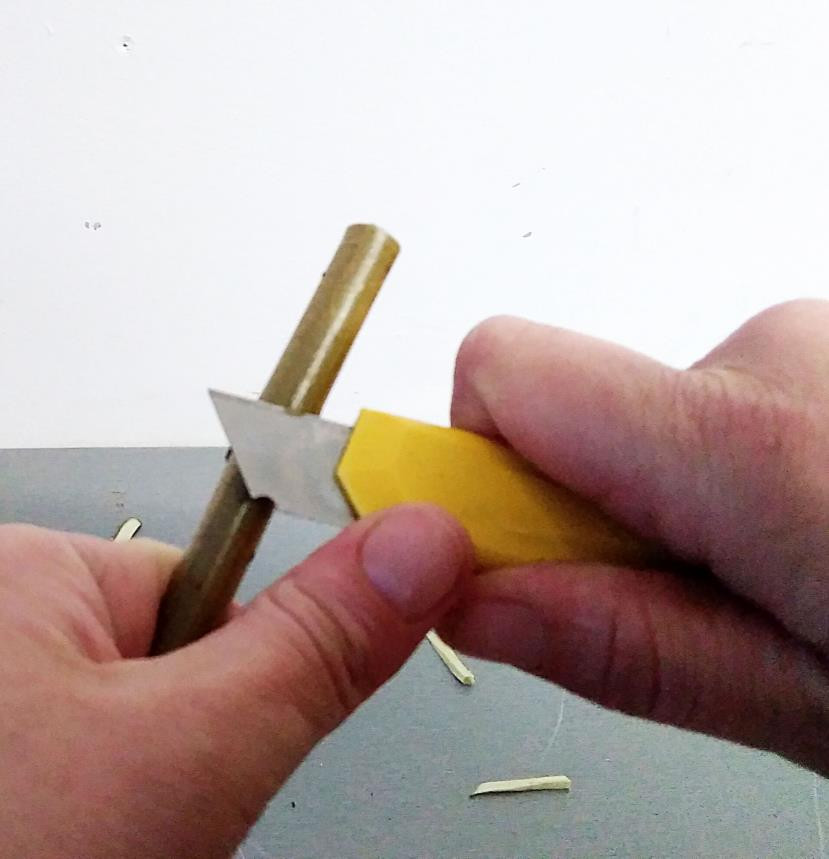
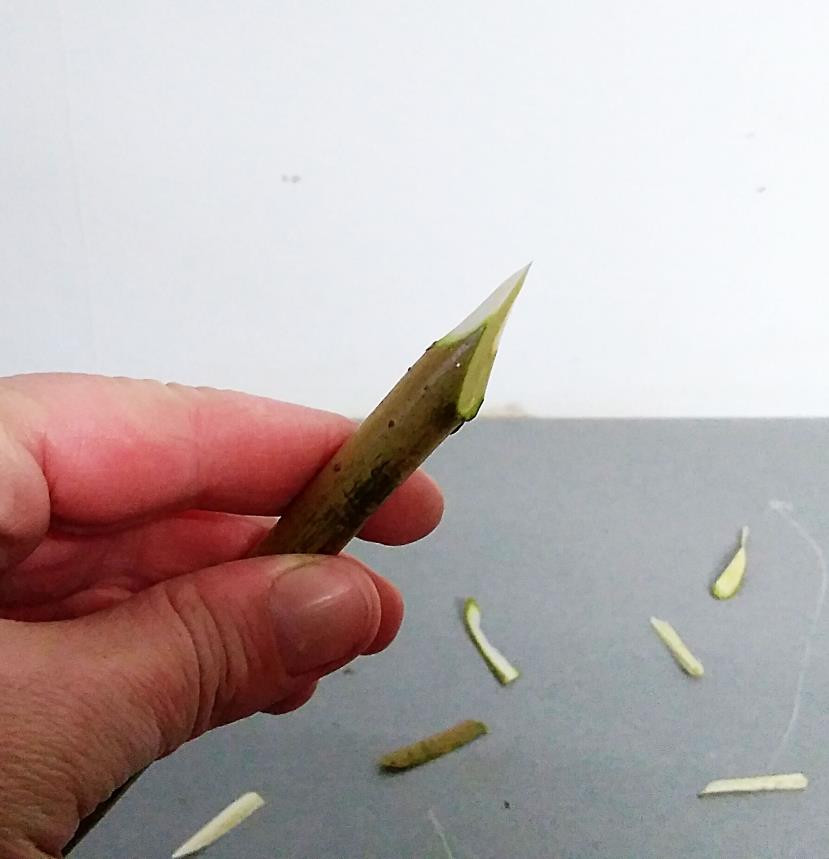
- Using a sharp knife, carve one end of your stick to a point.
- Remove the bark from about 3cm from the point of the pen.
- Allow the pen to sit in a jar of water for about half an hour before you use it to allow it to soften, as this way it will retain more ink and give a smoother line.
- Dip the tip of your pen into ink and start drawing!
Note
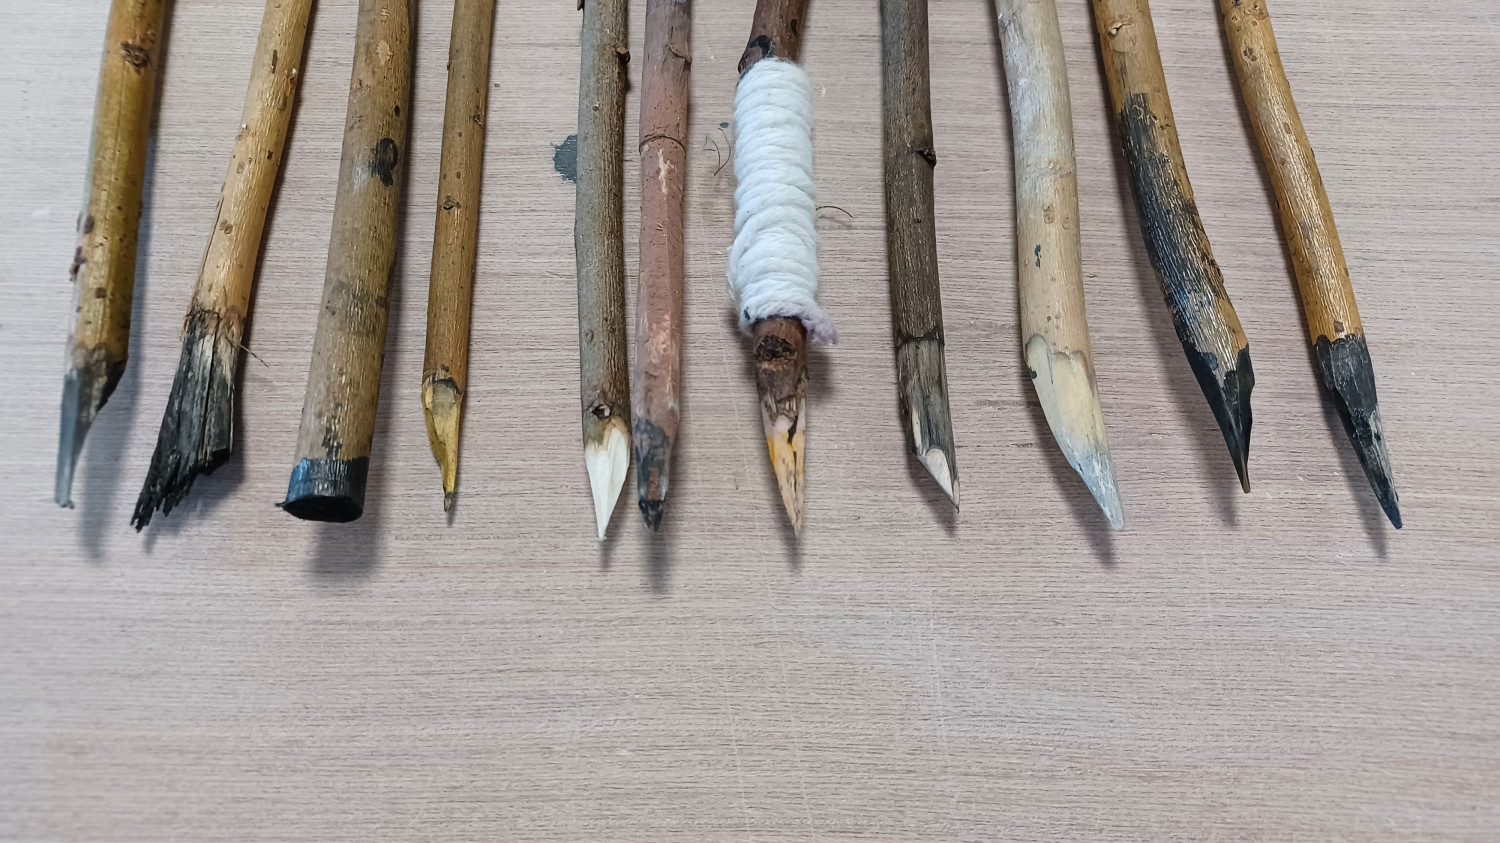
You can sharpen the point of your pen to different shapes, sizes and thickness, depending on the type of line that you want. Try a making a chisel, round , stub, square, angled, straight, brush, calligraphy, skinny, broad. All of these will give you different line and mark quality.
You can also cut the end of sticks into shapes like squares, hexagons, triangles or more to make stamps. Wider sticks work really well for this.