

Introduction
There are a variety of ways to make your own drawing tools from things you have around the house, shed or garden. Making your own tools means that you have a set of tools that can create marks and drawings unique to you. If you are using materials gathered from trees and plants, you can make a new set to suit the seasons. It’s also a great way of giving materials that might otherwise be classed as rubbish a chance to become something new and useful. The list of materials is just a starting point, be creative and use anything you can find around you.
Materials
Natural Materials
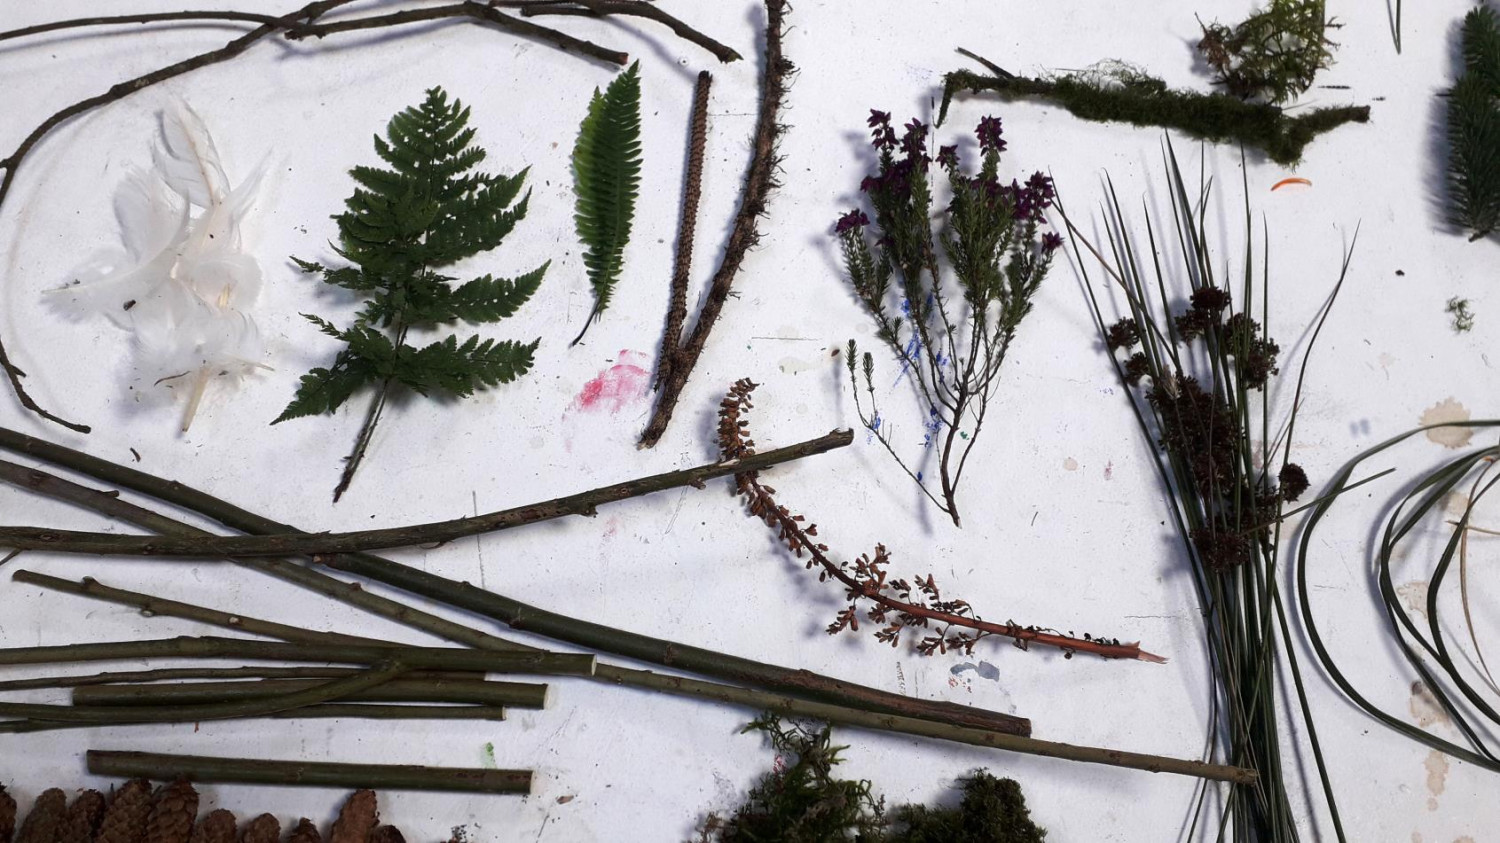
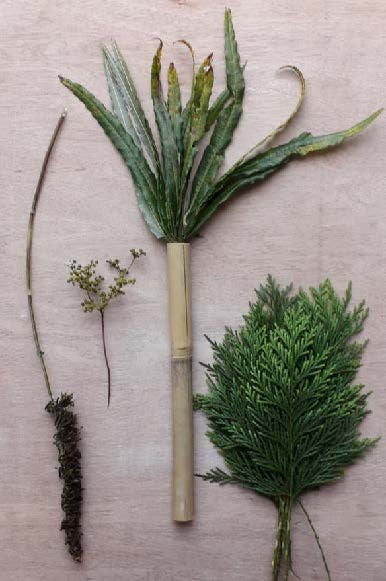
- Sticks
- Pine needs
- Leaves
- Bark
- Dry slower stems and stalks
- Hair
- Feathers
- Bamboo Cane
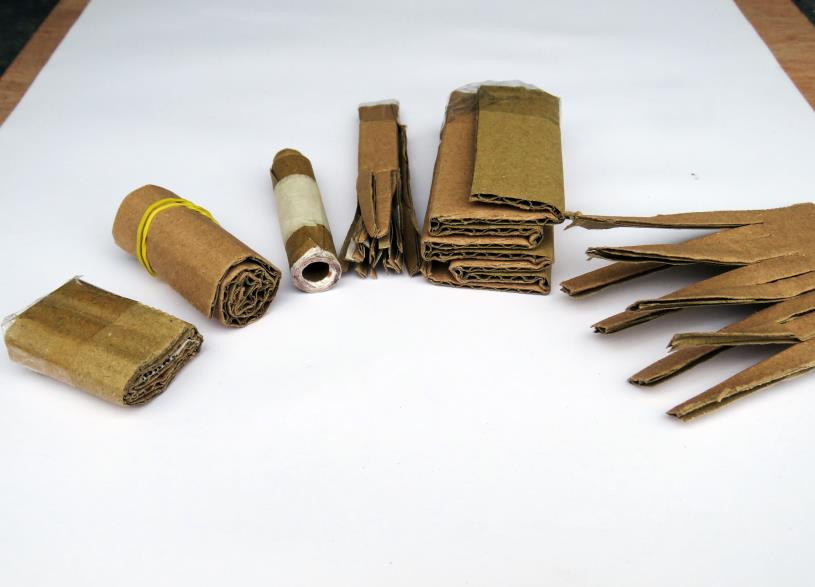
Upcycled material
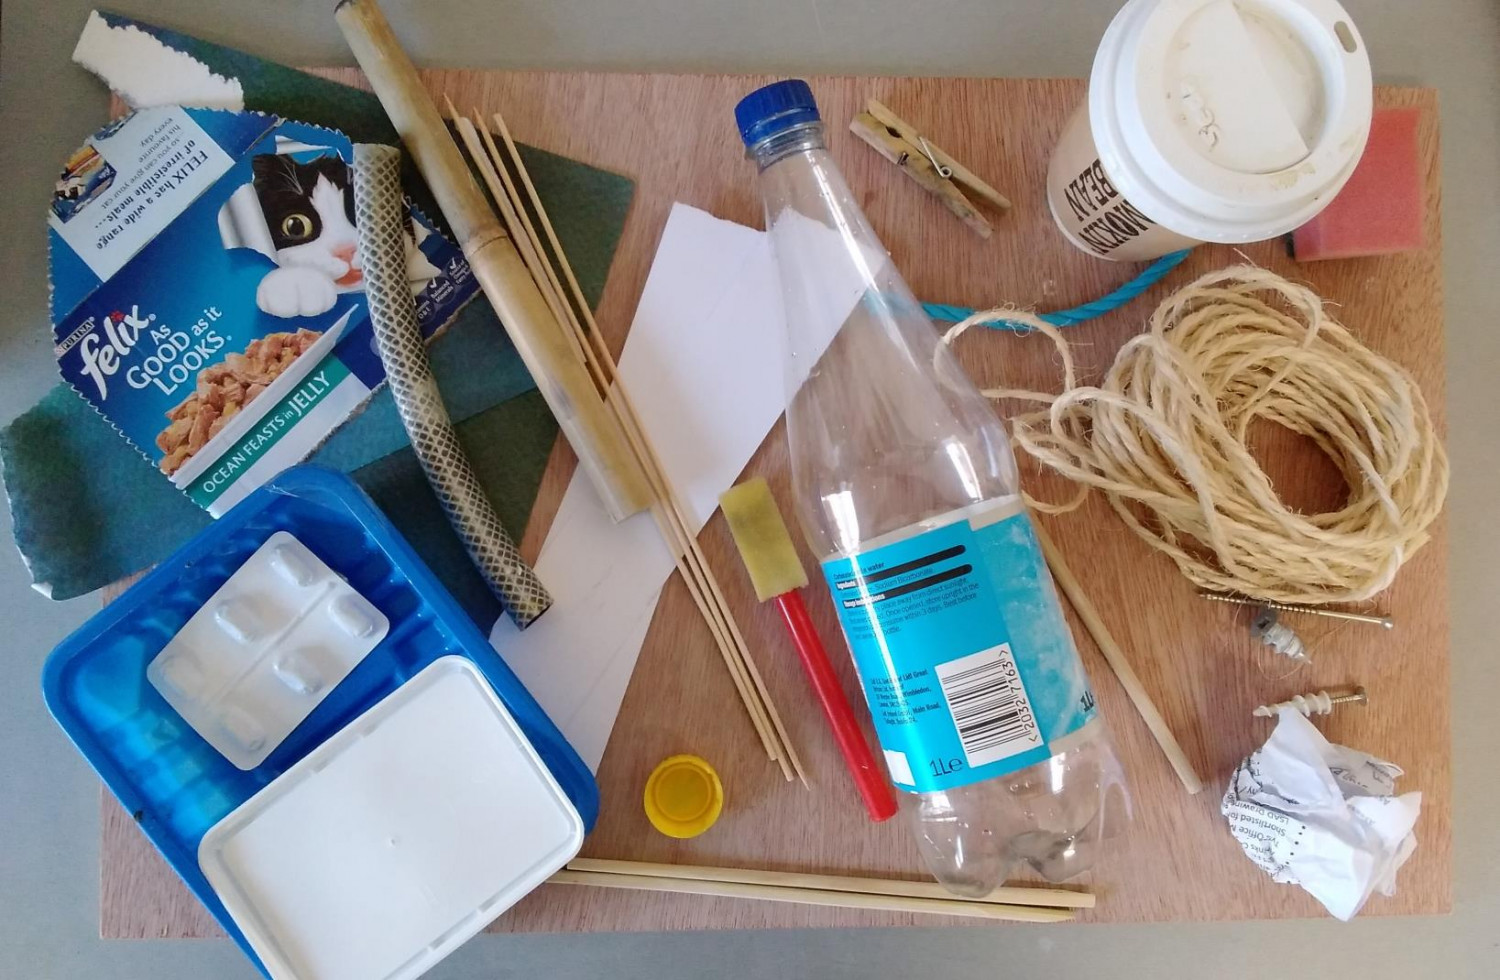
- Cardboard
- Plastic packaging
- Soft plastic
- Rags
- Old brushes (toothbrush, masacara wand, makeup, washing up, sweeping)
- Plastic bottles
- Anything solid or that can be folded or cut and will not loose its form when wet
- Plastic
Tools and Equipment
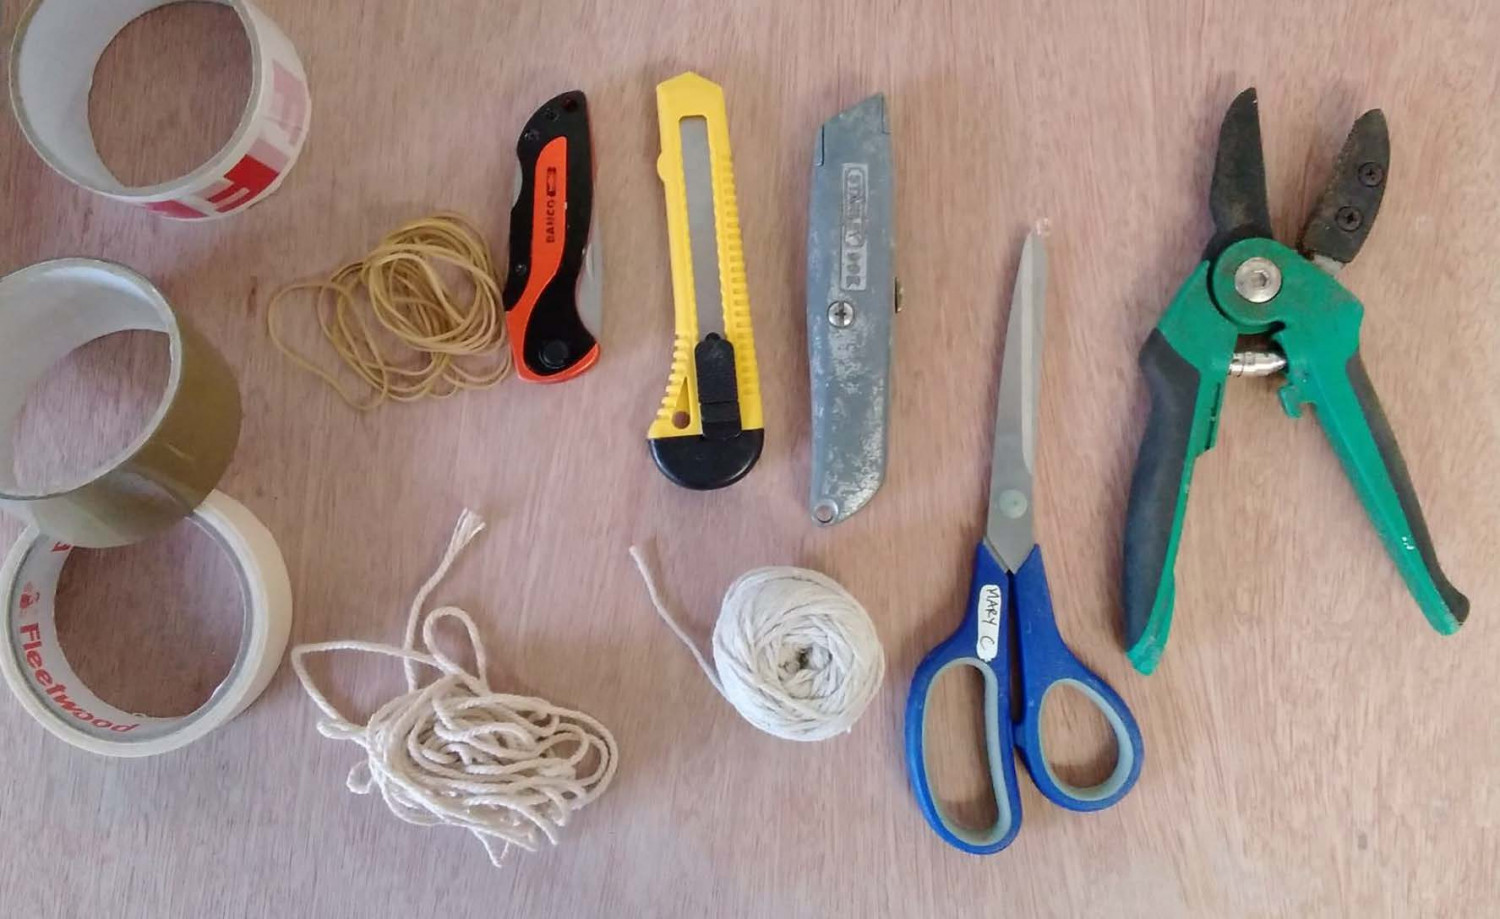
- Scissors
- Secateurs
- Sharp knife
- Tape
- Elastic band
- String
- Wire
Methods
Method 1 – Basic Mark Making
dip your material into ink and make a mark on your surface. Use different edges of the tool to see what different marks you can get.
Method 2 – Making Stamps
You can also cut the end of sticks into shapes like squares, hexagons, triangles or more to make stamps. Wider sticks work really well for this
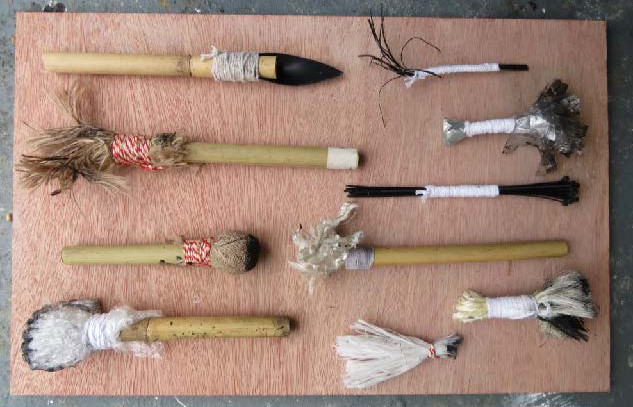
Method 4 – Making a basic brushes
You can crush the ends to make a crude brush, which can then be shaped with a knife or scissors. You’ll need to debark and soak the tip for an hour or so before hand, to loosen the fibers, then simply begin to hammer the tip of the stick with a stone or hammer until the fibers begin to come apart. Keep gently hammering until the fibers are loose and flexible. Trim to shape with a scissors.
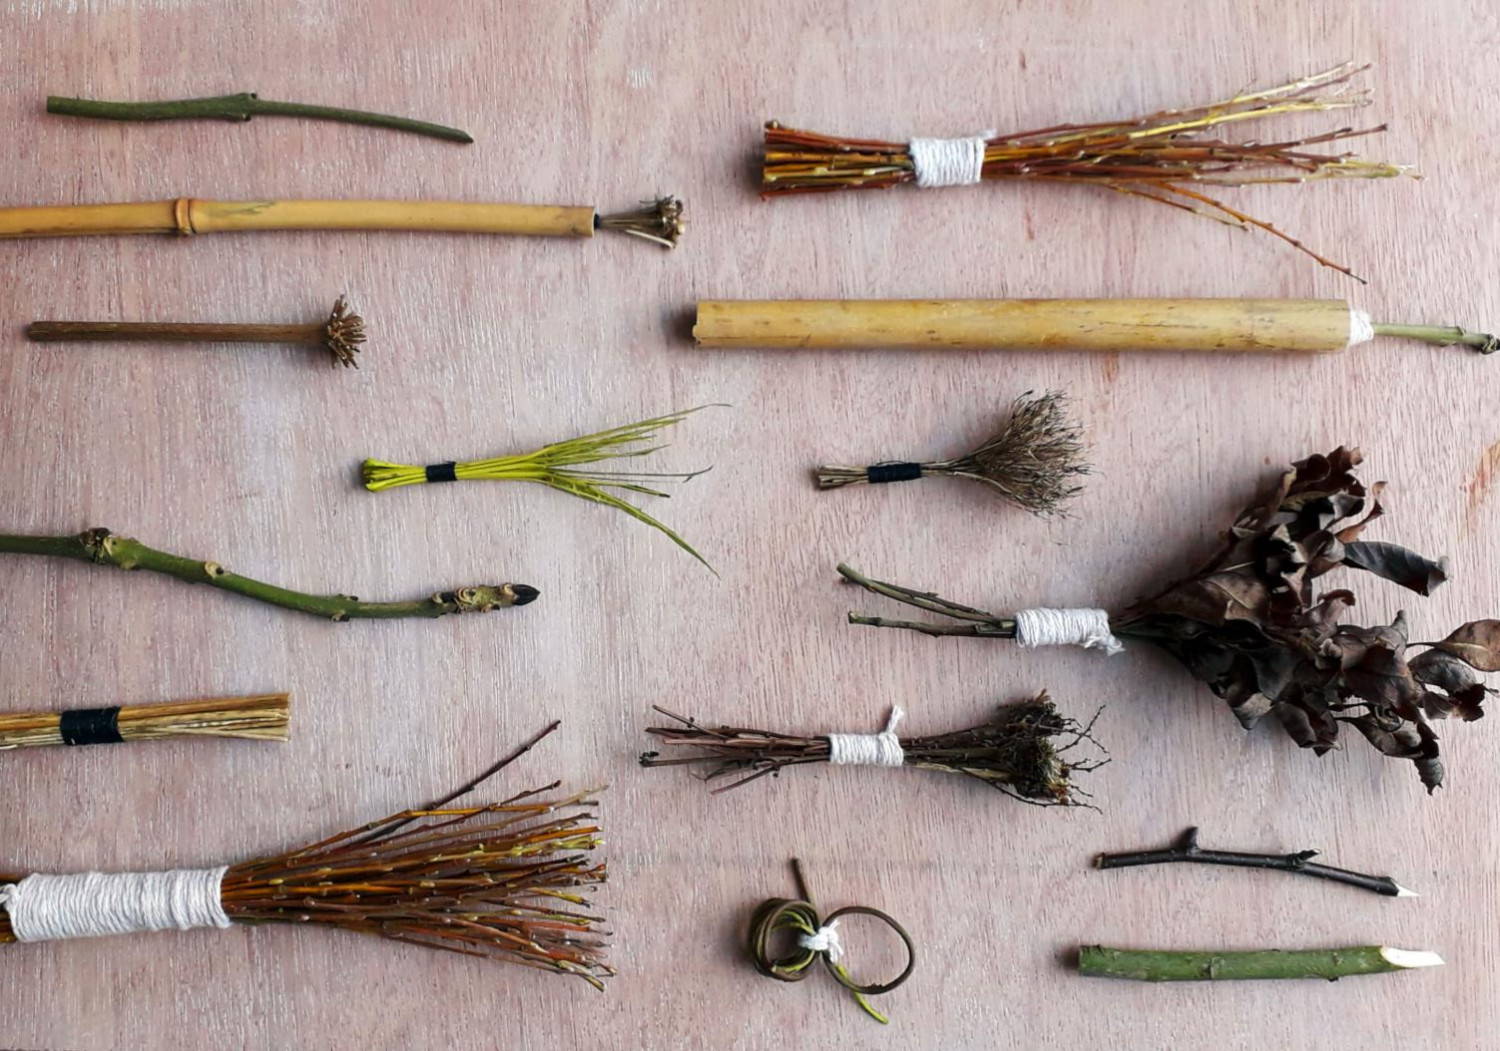
Method 5 – Making bundle brushes
A simple way to make a brush is bundle a bunch or materials eg pine needles, leaves and tie them together with string.
Hold the end of the bundle together with on one hand and place one end of a long length of string under your thumb (see Fig). leaving a tail of about 5cm loose.
Stretch the string to the top of the bundle and begin wrapping it tightly around the bundle, looping it around the bundel, with each loop closer to your hand that is holding it. The string should be wrapped tight, so that the buddle does not move.
When you get as far as your thumb, release the hold and tie the two ends of the string together.
Trim of any excess string.
Use your new brush!
Method 5 - Making handled brushes
You attach any of your found materials to the end of a stick to create a long handles bush. Bamboo Canes are ideal for this.
Gather your ‘bristle’ materials and tie them together using the method described above but with light thread
Take a bamboo cane that has been cut to the desired length.
Carefully split one end of the bamboo using a sharp knife Do this by placing the bamboo cane vertically on the ground or solid surface, placing the sharp edge of your knife across the centre of the end of the cane and gently tap the blunt edge of the knife with a piece of wood. The can should split up to the first node revealing a hollow interior. (see fig)
Place your bristle material into the cavity
There may be enough pressure from the bamboo itself to hold the bristles in place. If it is looks use the string method as described above to tie it together tightly.
Notes
You can sharpen the point of your pen to different shapes, sizes and thickness, depending on the type of line that you want. Try a making a chisel, round , stub, square, angled, straight, brush, calligraphy, skinny, broad. All of these will give you different line and mark quality.
Instead of using bristles, you can place other materials in the bamboo to make pens such as leaves.